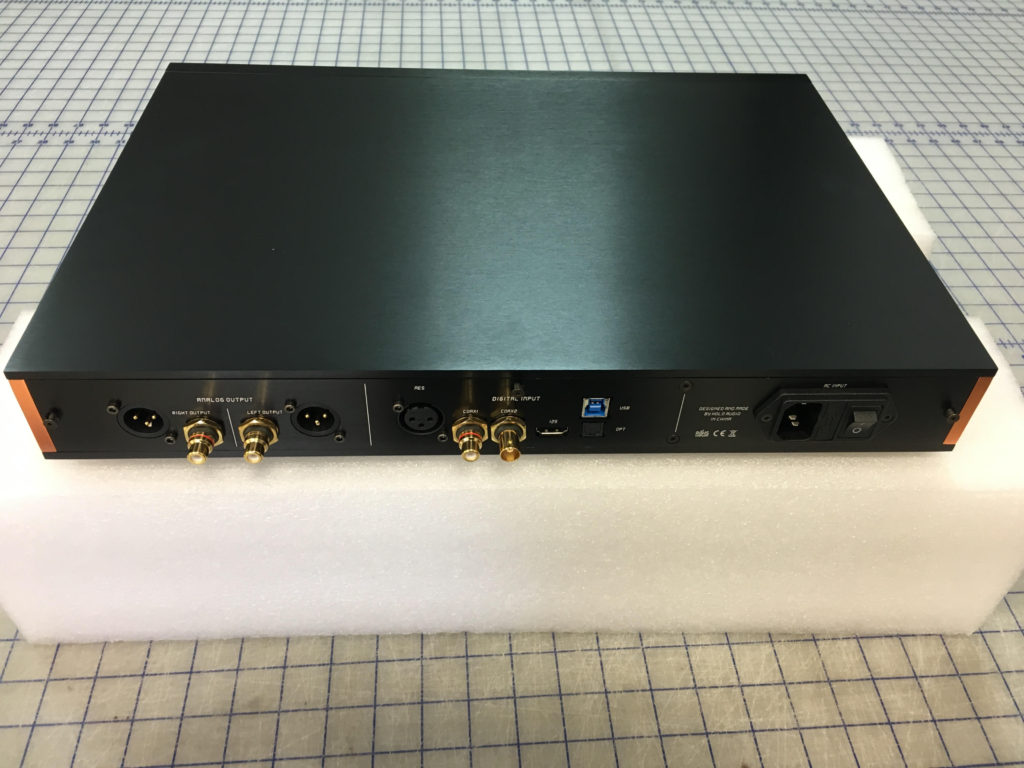
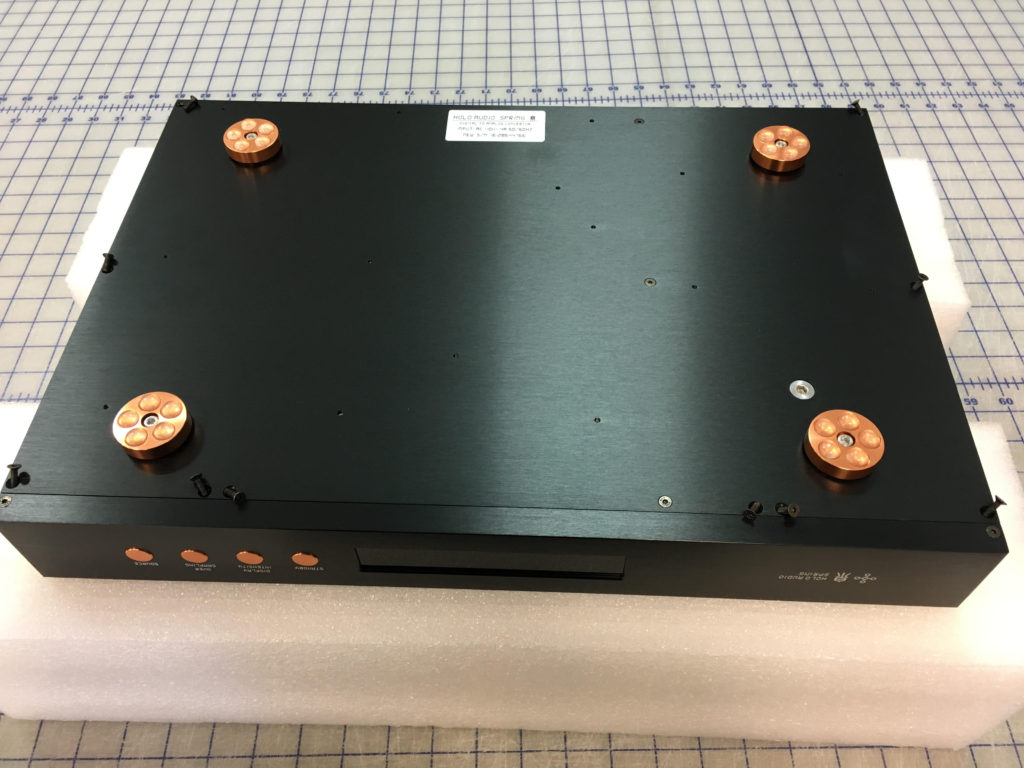
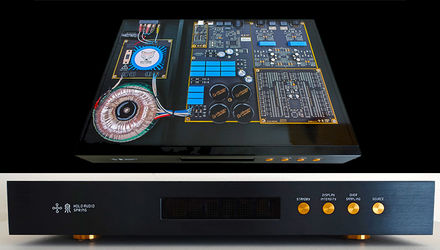
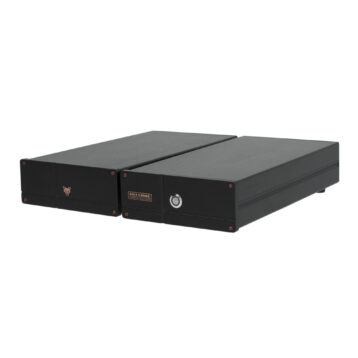
3 screws on backside. One in middle, and one on each side. Remove 3 then flip Dac upside Down.
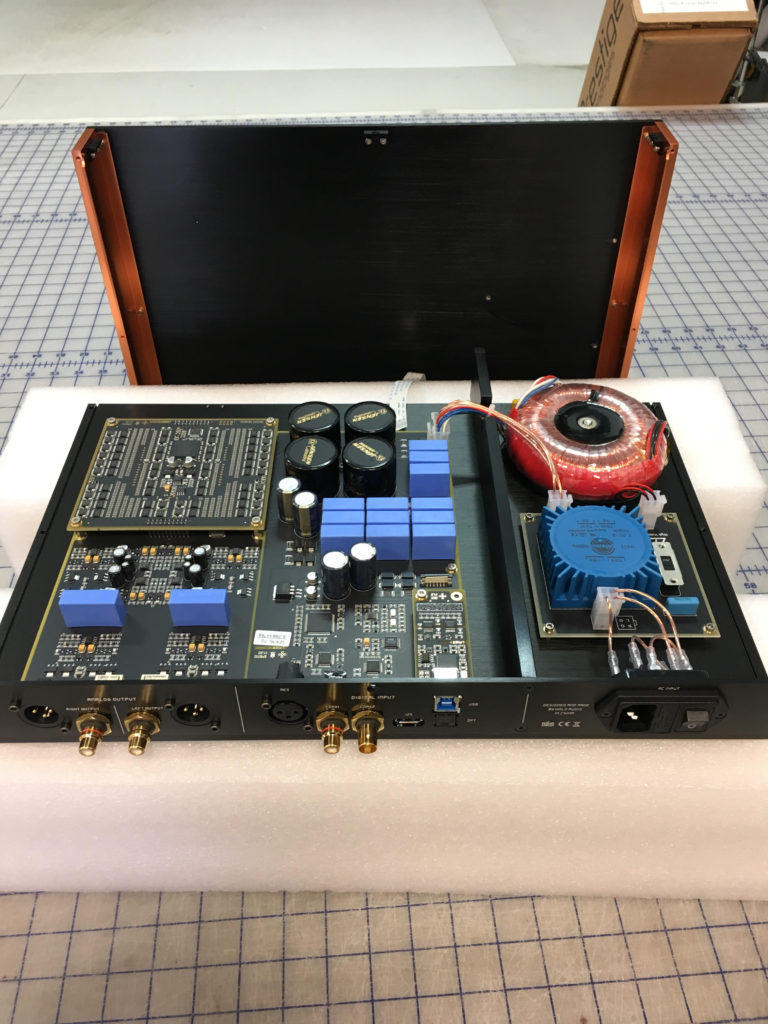
On the bottom there are 10 screws to remove and shown in the photos exactly which ones to remove and which ones to leave in- once these are removed you can slide the face forward and away from back panel. IMPORTANT: Only slide about 1inch and then slowly and carefully pull up and angle the rear upwards and the face downwards.
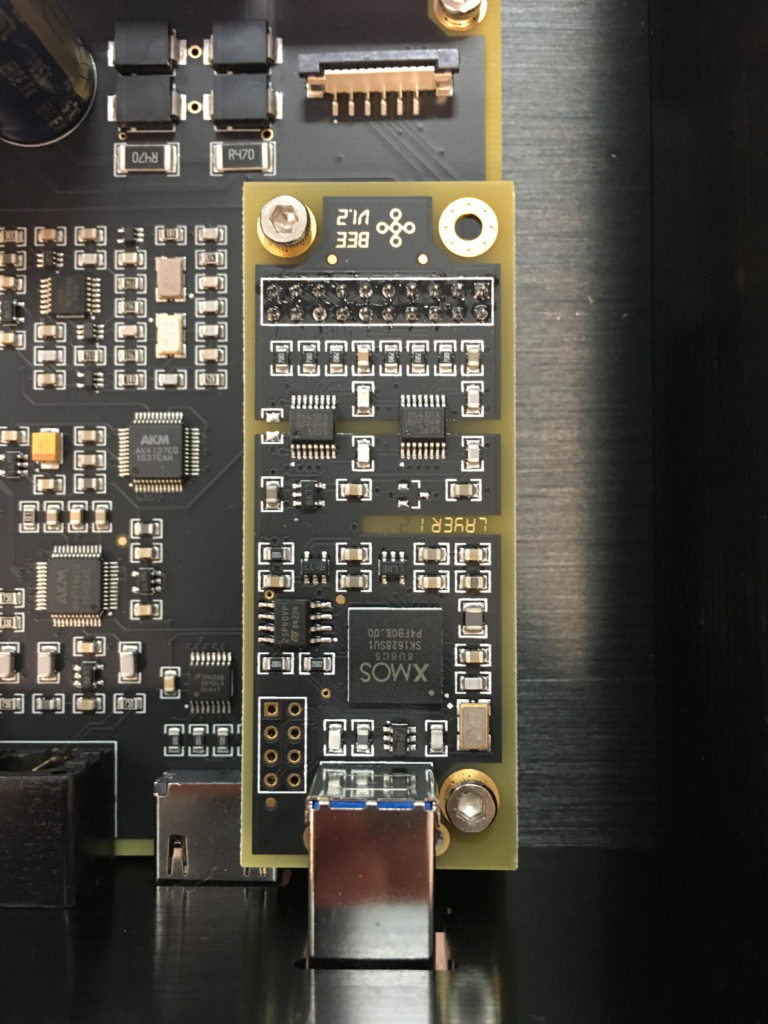
PLEASE NOTE: There is a fragile ribbon cable that must be detached for both pieces to be separate. The photo of the USB module below shows the ribbon plug above it. It’s pressure fit and can be pulled out and pushed in carefully upon reinstall. Just be careful as ribbon cables are somewhat fragile if too much pressure is put on them at the wrong angle.
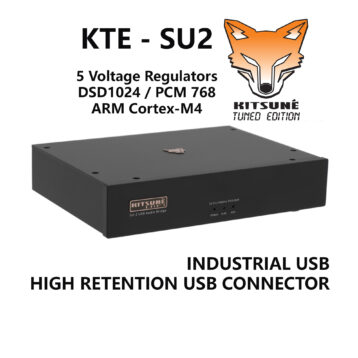
if you want to remove or replace the USB module, here is a photo of it, and requires two screws to remove and simply pull upwards to unplug.
This is a quick run down on how to open the Dac properly. Please email us if you have any questions. This process should take about 3-5minutes
-Tim Connor

